While insulin injection provides either rapid-acting or long-acting insulin, some people take multiple short-acting insulin dosages and this is where an insulin pump comes in handy. Insulin manufacturers have developed an insulin pump that provides a continuous dosage of short-acting insulin all day long without the hassle of multiple dosages.
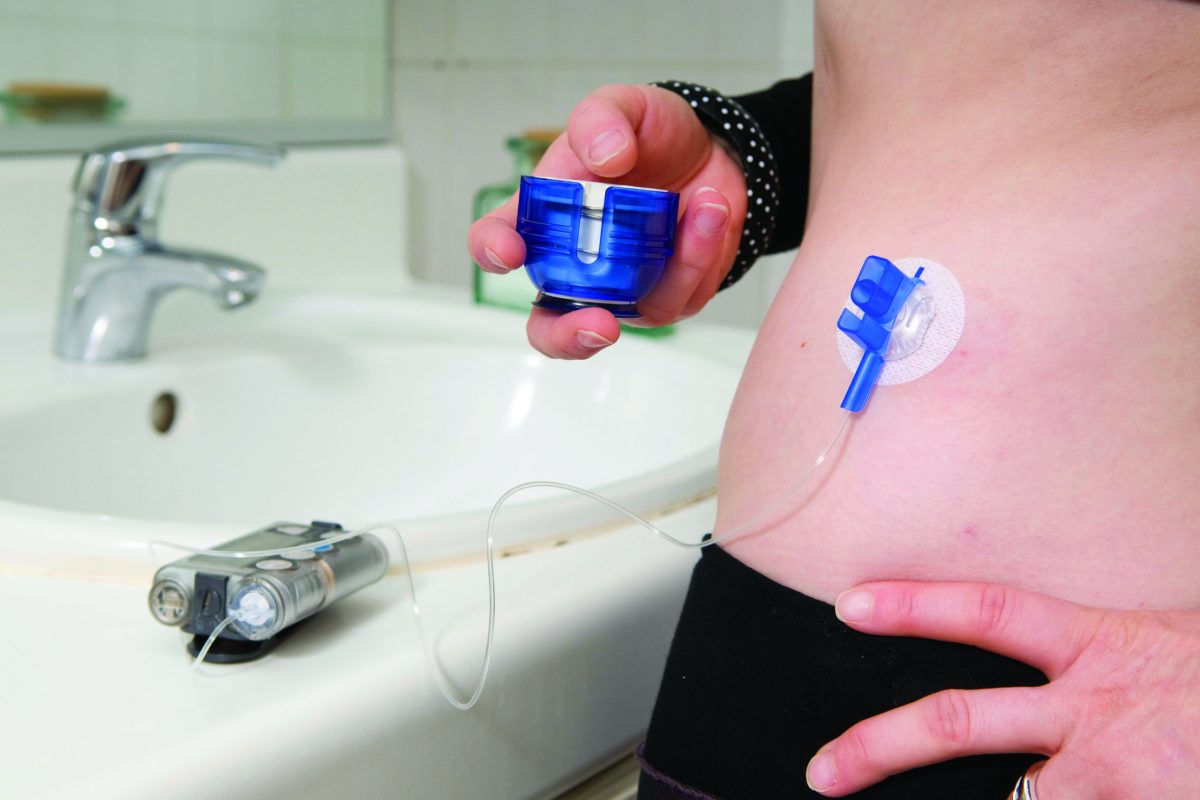
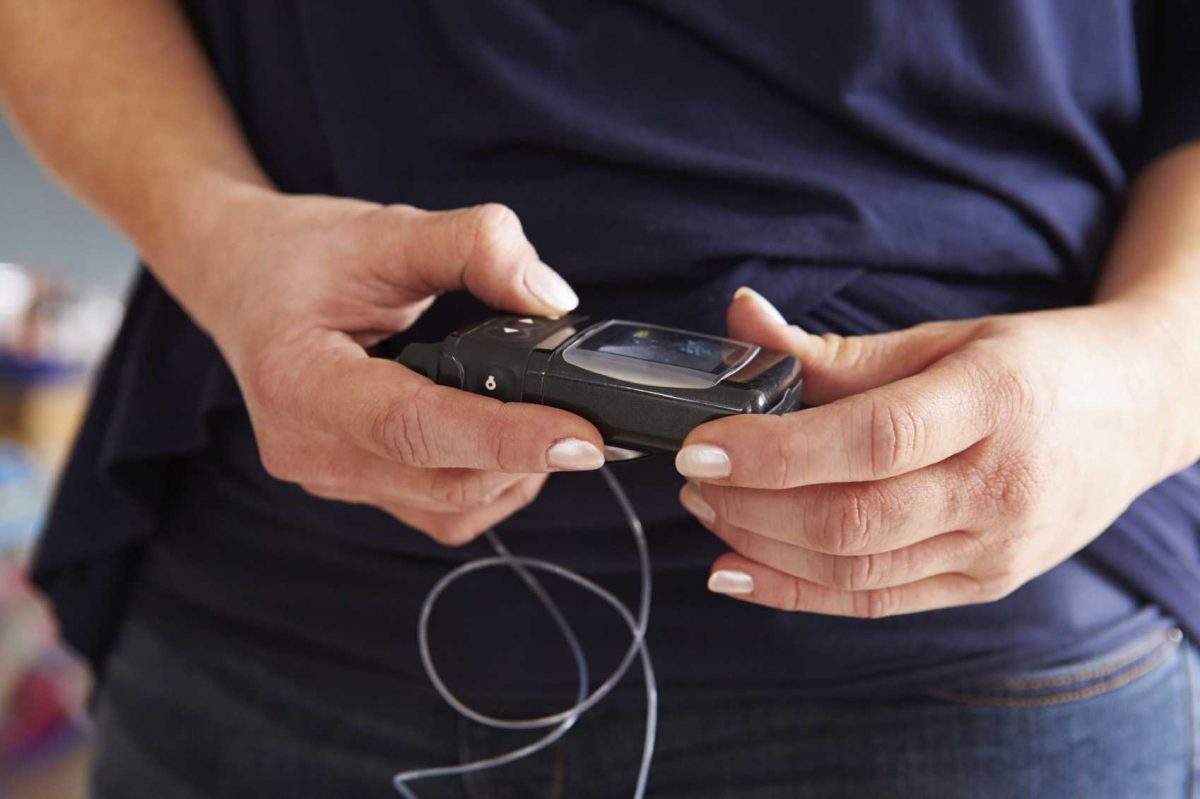
An Insulin pump is a programmable device, the size of a smartphone that delivers a continuous amount of insulin in your body. The pump can be worn around the waist, in a pocket, or the armband. It has a tube attached to it that is connected to a thin cannula place in the layer of fat under your skin, usually around the stomach area. Since it is programmable, you can customize the amount or dosage of insulin that you need based on your glucose level.
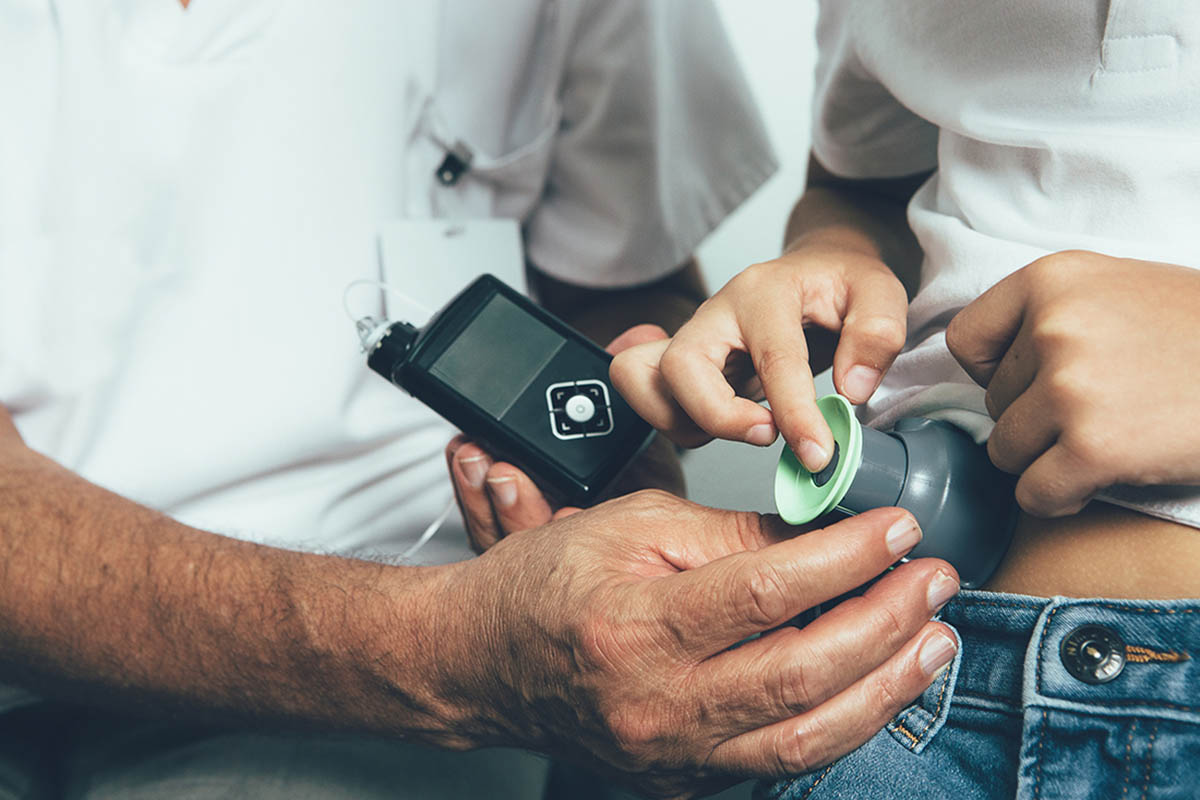
However, like any device, an insulin pump can be a bit complicated. You will need an expert to teach you how to set the insulin pump. You also need to learn how to fill the insulin container, attach the pumping mechanism to the body with the infusion set, and program the device.
Hence, it is important that you familiarize yourself with the parts of the insulin pump.
1. Pump
The conventional insulin container has a pumping mechanism and buttons or touchscreen to program insulin delivery. It is battery-powered and insulin is sent via tubing into an infusion set that delivers insulin to the bloodstream when it is pumped.
2. Tubing
This is a catheter that is connected to the insulin container. It is where the insulin flows towards the infusion set. The length of the tubing differs depending on the individual’s preference or they would want to wear the insulin pump.
3. Infusion Set
This infusion set is attached to your skin. It is made of Teflon or steel. It consists of a complex mechanism that works efficiently to deliver insulin into your bloodstream round the clock. The infusion set is usually implanted in the stomach area. However, it can still be placed on the hips, thigh, buttons, and even upper arms.


